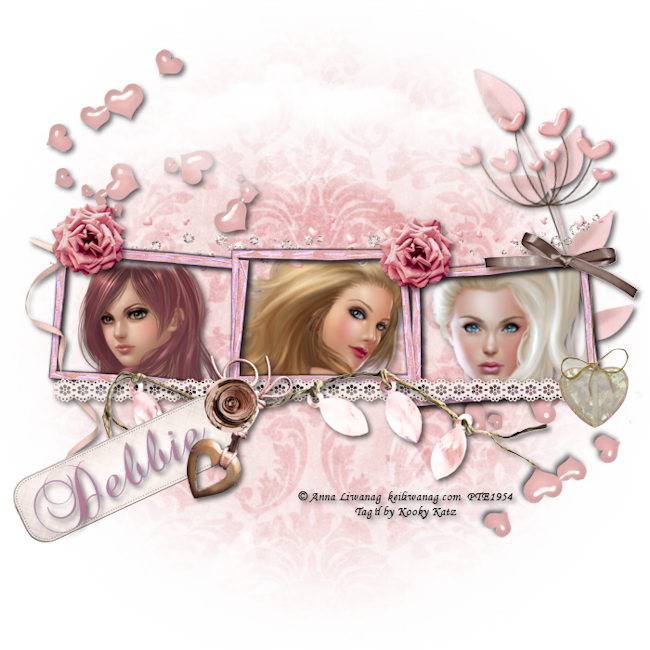
Blush
Supplies
PSP - I am using PSP X2 (But an older version should work also)
I used the gorgeous kit “Blush” by Polka Dot Scraps
You can purchase this kit from
Thank you Chassity for this beautiful kit!
Tubes of choice, I used the wonderful artwork of Anna Liwanag
You will need a license to use her work,
you can get one here
Mask of choice, I used Mask 20 from Horse Play’s Pastures here
Font of choice, I used Brock Script, here
Xero Plugin – Porcelain
Notes
This tutorial assumes you have a working knowledge of PSP.
Install the mask if needed
Use the following settings for drop shadow,
unless otherwise stated:
Effects>3D>Drop Shadow>
V 3
H 3
Opacity 60
Blur 8
Color Black
Shadow on new layer unchecked
(Of course you are always free
to use your favorite settings for
the drop shadow!)
=^_^= Ready to start? Let’s go! =^_^=
File> New
Image> Canvas Size>700x700
Flood fill with white
Layers>New Raster
Selections>Select All
Copy Paper3
Paste into selection
Layers>Load/Save Mask>Load Mask From Disk
Source Luminance checked
Fit to Layer checked
Invert transparency not checked
Hide all mask checked
Layers>Merge>Merge Group
Selections>Select None
Copy/Paste Frame 5 as a new layer
Image>Free Rotate>Left 90 degrees
Add drop shadow
**Do this for all three tubes**
Maximize your tubes
Copy/Paste As A New Layer
under the frame layer
Place in the frame, resize if necessary
When you have the tubes in the order you like,
take your eraser tool and erase the parts of the tubes
that are outside the frame.
Add your embellishments, I used the following:
Ribbon1>Resize 35%
Ribbon4Resize 50%
Scatter2>Resize 50%
Layers>Duplicate
Image>Mirror>Flip
(erase any part you don’t want showing)
String>Resize 80%
Scatter3
Flower2
(erasing parts you don’t want showing)
Leaves2
(erasing parts you don’t want showing)
Heart2>Resize 40%
Flower3>Resize 20%
Flower4>Resize 20%
Lace1
Add your copyright and license number and text
Add your watermark
Layers>Merge>Merge Visible
Image>Resize 80% (650x650)
I used color #952a2a
for the background for my name
Font Size 72
Add drop shadow
Add porcelain effect
If you are using a white background you can
Layers>Merge>Merge All (Flatten)
File>Export>JPEG Optimizer
Set compression value to 25
Save to where you want
If you are using a transparent background you can
File>Export>PNG Optimizer
Click “ok” on the next screen
Save to where you want
I hope you have enjoyed this tutorial!


No comments:
Post a Comment