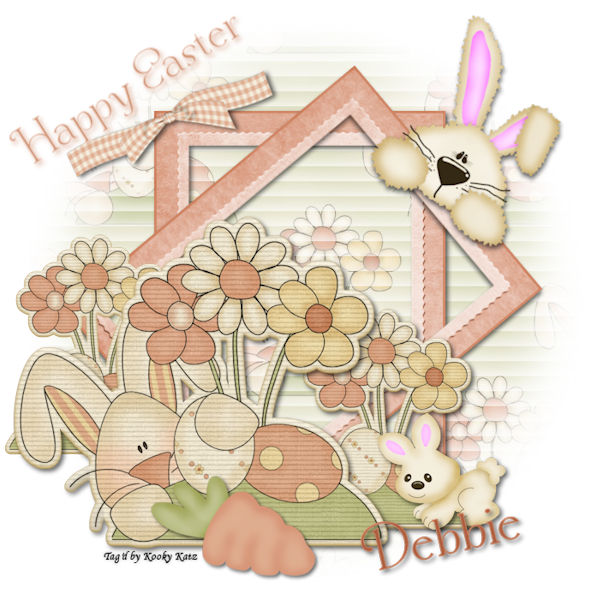
Bunnies and More Bunnies!
Supplies
PSP - I am using PSP X2 (But an older version should work also)
You can purchase this kit from Scrappin Dollars.
Thank you Sandra for this wonderful kit full of bunnies!!
Mask of choice, I used Monti's Blinds Mask here
Notes
This tutorial assumes you have a working knowledge of PSP.
Install the mask if needed
Use the following settings for drop shadow,
unless otherwise stated:
Effects>3D>Drop Shadow>
V 3
H 3
Opacity 60
Blur 8
Color Black
Shadow on new layer unchecked
=^_^= Ready to start? Let’s go! =^_^=
Open a new file, transparent, 700x700
Flood fill white
Copy/Paste Paper 12 as a new layer
Layers>Load/Save Mask>Load Mask From Disk
Fit to canvas checked
Source luminance checked
Invert transparency checked
Hide all mask checked
Layers>Merge>Merge Group
Copy/Paste Frame 5 as a new layer
Add drop shadow
Layers>Duplicate
Image>Free Rotate>Right 50%
I used the following embellishments:
Copy/Paste Sticker 1 as a new layer
Add drop shadow
Image>Resize 75%
Copy/Paste Ribbon 1
Image>Resize 25%
Add drop shadow
Image>Free Rotate>Left 25%
Copy/Paste Sticker 3 as a new layer
Add drop shadow
Image>Resize 50%
Layers>Duplicate>Move to left
Copy/Paste Bunny 4 as a new layer
Add drop shadow
Image>Resize 30%
Image>Free Rotate>Right 30%
Copy/Paste Carrot 1 as a new layer
Add drop shadow
Image>Resize 80%
Copy/Paste Bunny 1 as a new layer
Add drop shadow
Image>Resize 35%
Resize to your preference
Add your copyright and license number and text
Add your watermark
If you are using a white background you can
Layers>Merge>Merge All (Flatten)
File>Export>JPEG Optimizer
Set compression value to 25
Save to where you want
If you are using a transparent background you can
File>Export>PNG Optimizer
Click “ok” on the next screen
Save to where you want
I hope you have enjoyed this tutorial!


No comments:
Post a Comment